Two-step stamping is when you layer two or more stamped images to create the completed image. Stampin’ Up! have a number of Two-Step Stampin’ sets in their catalogues. Photopolymer or transparent stamp make this technique a little easier. But it can be achieved with the red rubber stamps as well but you will need a stamp positioner the help with the placement, such as a Stamparatus or stamp-a-ma-jig (retired).
Today I’m showing you a variation when stamping with a Two-Step Stampin set.

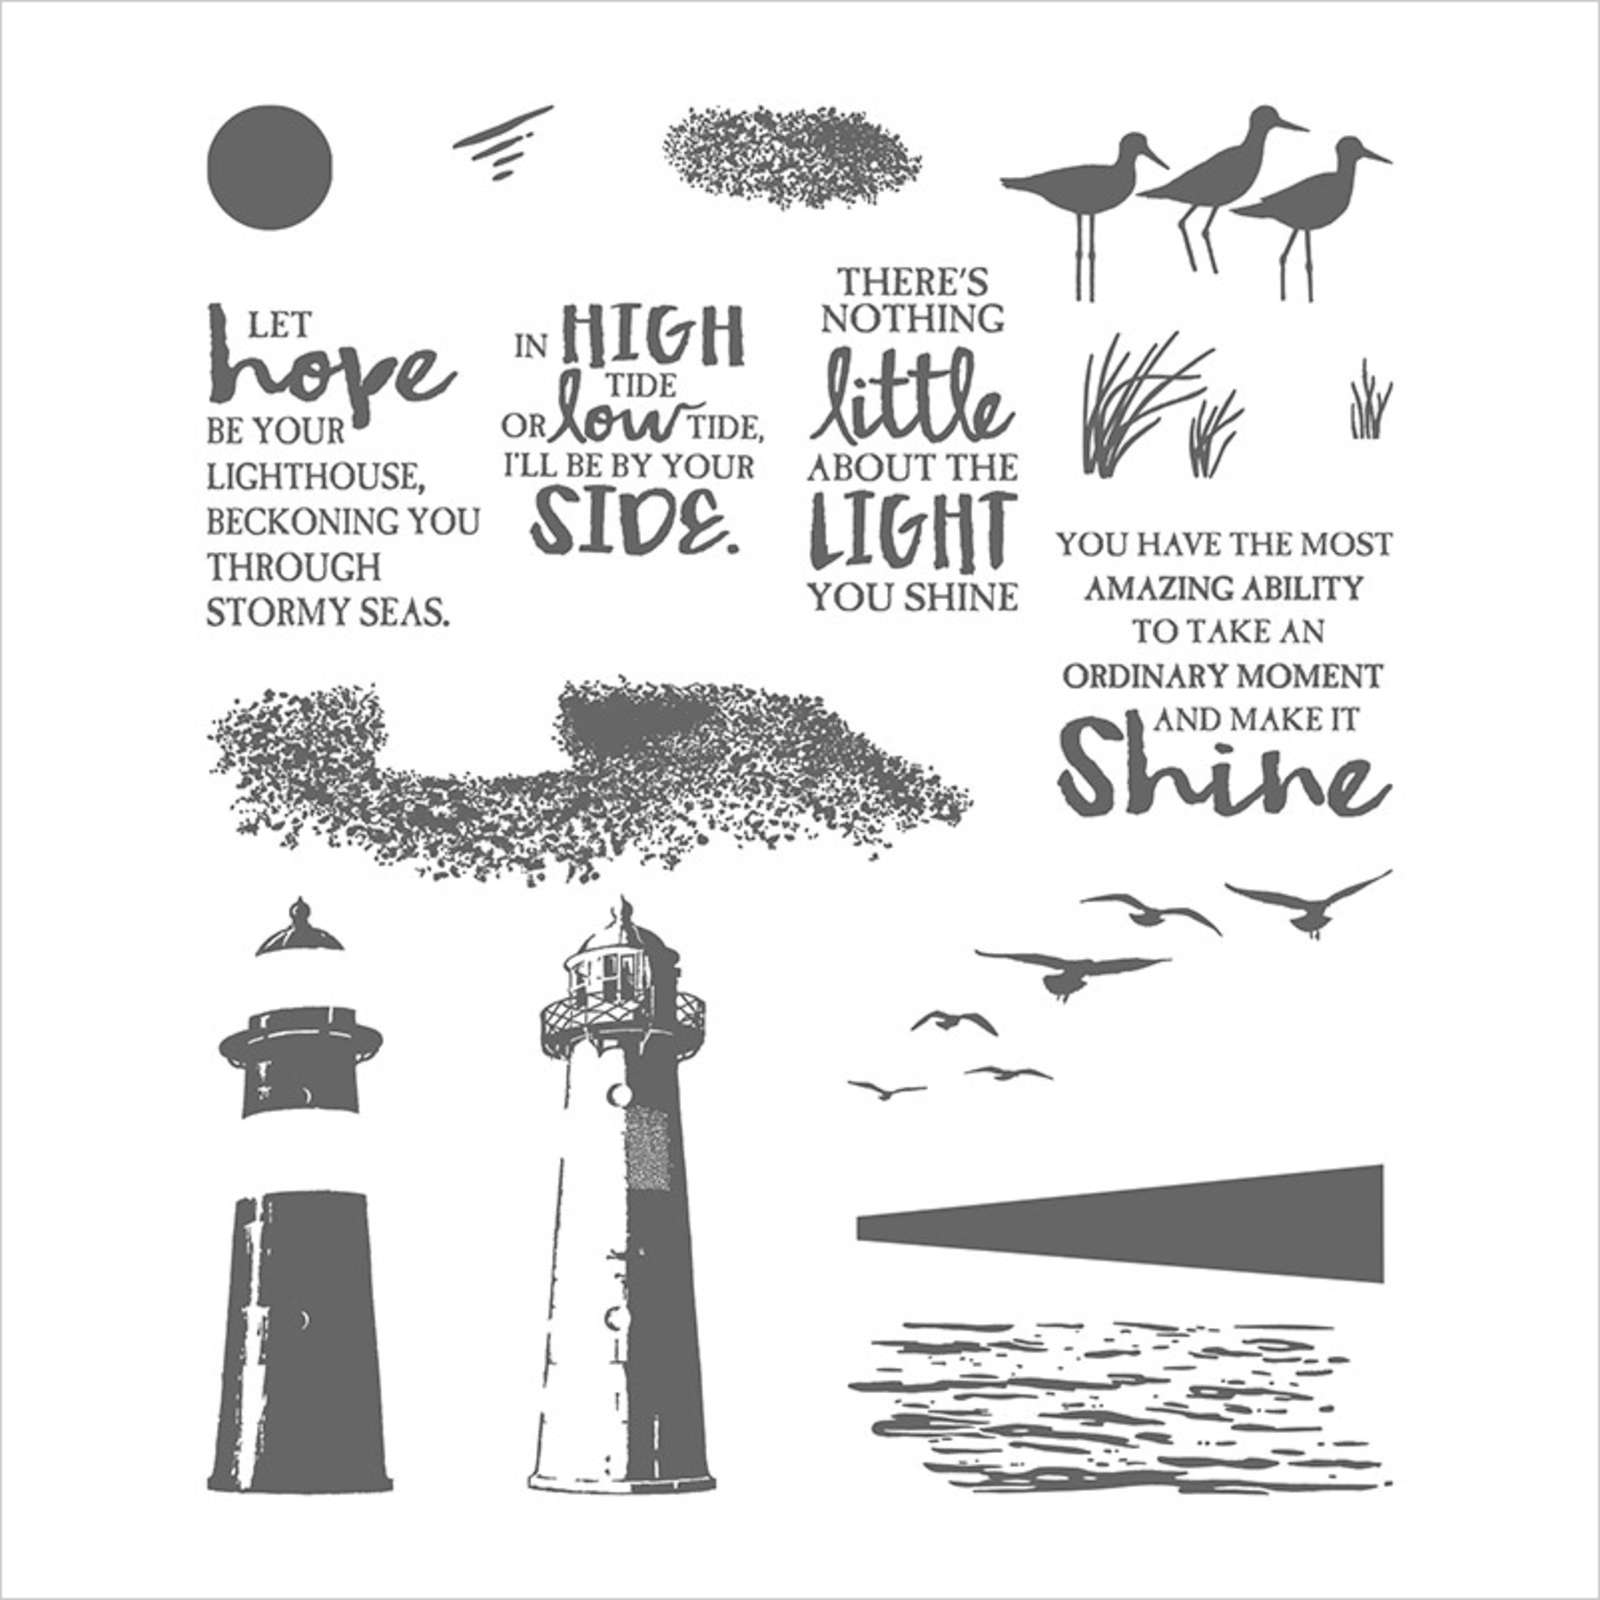
Supplies that you will need: Two-Step Stampin stamp set (I’ve used the High Tide), various ink colours, Stazon ink, card stock, window sheet, cooper foil sheet, Stitched Nested Label Dies, Old world 3D embossing folder and Stamparatus. See below for the full list of products used and links to my store.
Step by Step Instructions
- As I am using a shape from the Stitched Nested Label Dies to stamp my image on I need to cut that out first with both the whisper white card stock and the window sheet.
- Next I will place the card stock piece onto my Stamparatus and position the first stamp that I will be stamping, the base of the light house. Then ink it up and stamp. I used crumb cake ink.
- Now I will take the second image to stamp, the grassed area, and line it up with the first stamped image and then attached it to the stamp-a-ratus. Ink it up and stamp, I’ve used Pear Pizzazz.
- Now line up the final stamp with the already stamped images, this is the outline of the lighthouse, and attach to the stamparatus. BUT before I stamp this image I will remove the card stock and replace it with the piece of window sheet (make note of the position of the card stock so that the window sheet can be placed in the exact same place). Now ink up with Stazon ink and stamp onto the window sheet. Please note when using window sheet you will need to use Stazon ink.
- Make a frame, I have used the copper foil sheets here. Attach to your stamped window sheet with either Fine Tip Glue or Tombow. Then adhere to the stamped image on the card stock.
- You can now finish your card.
Variations for this technique

- The image on the left is just stamped onto the card stock
- The image on the right is stamped on both card stock and window sheet.
As you can see at the top of each image the alignment was a little off. The great thing about stamping the last image on window sheet is you can move it around to perfectly align the images before you adhere them together. It is hard to capture the difference but I find that the Window sheet variation gives more of a clearer finish to the stamped image.
Demonstration of Two-Step Stamping Variation
To be notified of my new projects and posts, please subscribe here.
Project Product List
To make your own cards, purchase items from the list below in my online store. Or contact me and I can organise it for you.


