
The inspiration for this Freshly Brewed Project is ….
Happy Mother’s Day
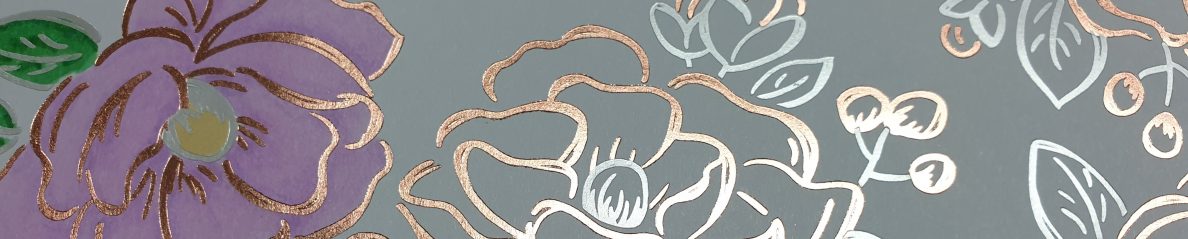
Mother’s day is a special time of year and what mum doesn’t love a bunch of flowers for Mother’s Day. It is nice to send them something handmade. This year I was asked to make a special card in a box for a friend to give for Mother’s Day. So I made her one and sent a picture she loved it so much she ordered 5 of them. Well I couldn’t just make them for someone else’s mum so I also made one for my Mum and Mum-in-Law. I really enjoyed making them and I hope they love them. I have made ten in total all of them a little different.

For these creations I used a mixture of current and retired stamps and bundles and Designer series Paper (DSP). Peaceful Poppies Suit, Ornate Garden Suite, Timeless Tulips Bundle, Details Bee Dies, Daisy Lane Bundle and Daisy punch, Butterfly Beauty Dies, Dressed to Impress DSP, Magnolia Lane DSP, Gold, Silver and Black Foil sheets, window sheets plus coordinating card stock & ribbon.
There are many resources with instructions and templates available. I used the instructions from Split Coast Stampers. But I did convert the measurements to metric so that I could get one card from an A4 sheet of card. Here are my measurements.


Once you have cut and scored your card adhere the box together.
Now adhere the two centre strips. Again I have made an alteration to the original with the placement of my strips. I put the first strip with the folded tabs facing the back off the box and the second strip with folded tabs backing up against the first strip.
You can now add the DSP cut to size on your panels.You will need
- 6 pieces cut at 6.5cm x 6.5cm
- 3 pieces cut at 6.5cm x 9cm
- 1 piece cut at 6.5cm x 16cm – if you are using a 6″ x 6″ piece of DSP for this, just cut a piece 6.5cm x 6″


Stamp, cut out or die cut the images that you will be placing on your Card in a Box. It is a good idea to cut out more then you need, you can always make another card with the left overs.

Start to arrange and decorate your box. you can adhere directly to the centre strips or any of the card flaps.
I like to place thin strips of window sheet on some of my images or elements and use dimensionals to give some extra layers.
Finish by adding your sentiment and a message panel cut at 6.5cm x 16cm, onto the back to write a message.


TIPS:
Thin strips of Window sheet can be adhered to the back of some images to add stability especially for stems and branches.
I always start with the biggest images first and then fill in with the other images and elements.
Don’t press adhesive down too hard as you may need to rearrange placement.
Make sure when you fold your card that there is not to much sticking out that will stop you from putting it into the envelope you have. Otherwise you may need to make one to fit.
A few other samples


This card in a box project can be made for any occasion. Make it with balloons, love hearts, animals, just about anything so be creative and have fun.
Now let’s go hopping …
We have five crafty Demonstrators in today’s Blog Hop. My friend Narelle Fasulo is next on the list …

Here’s the complete list of all participants …
To be notified of my new projects and posts, please subscribe here.


Hi Debbie, they are all lovely, but especially love the the lilac tulip boxes
LikeLiked by 2 people
Thanks Jenny, no surprise you like the lilac one( highland heather and purple posy)
LikeLiked by 1 person
Just gorgeous projects, Debbie. Thanks for the template too. Love your work. Thanks for sharing.
LikeLiked by 2 people
Thanks Libby. Hope you have a go. They are a bit addictive.
LikeLiked by 1 person
Great colours and a lovely gift for Mother’s Day
LikeLiked by 2 people
Thanks Sylvia
LikeLiked by 1 person
Absolutely stunning Deb. They are gorgeous.
LikeLiked by 2 people
thanks Narelle
LikeLiked by 1 person